
Thomas Tilley
[ Home ] [ Publications ] [ Resume ] [ Family ] [ Projects ] [ The Others ] [ Sitemap ]
[ Home ] [ Publications ] [ Resume ] [ Family ] [ Projects ] [ The Others ] [ Sitemap ]
 | |
 | |
 | |
 | |
 | |
 | |
 |
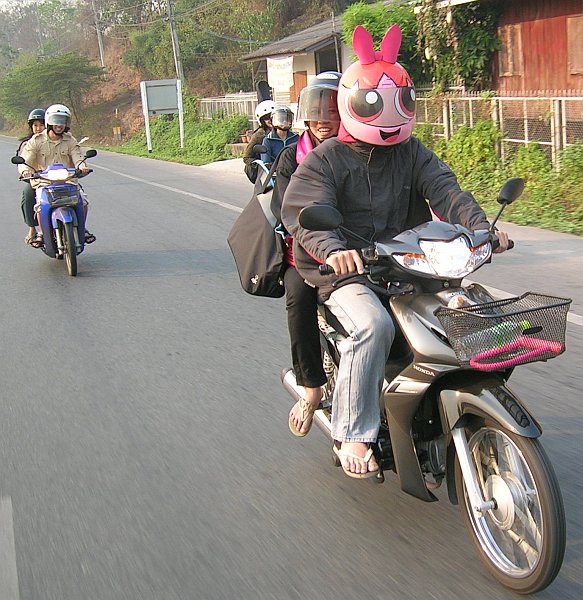
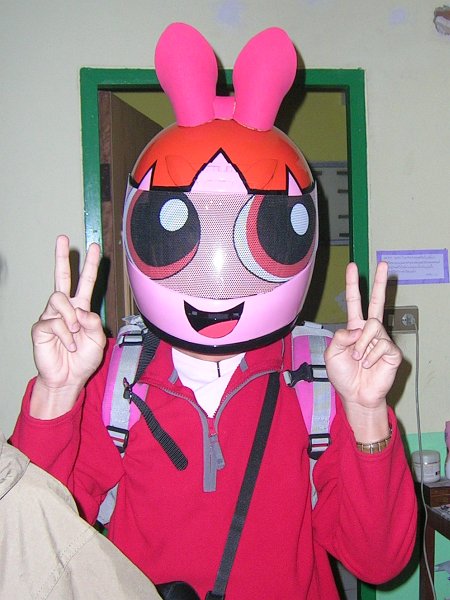
This is a full-face motorbike helmet that I modded as a birthday present for a Thai friend. He is a big fan of the Powerpuff Girls and Blossom is his favourite. You can see out through the visor and the bow on top is made from soft foam rubber.
He ran into a little bit of trouble when he tried to ride through the local air force base while wearing the helmet. The soldier at the gate pulled him over because he thought my friend was wearing a helium balloon on his head! However, when he opened the visor the soldier was surprised to see that it was actually a helmet and sent him on his way.
If you want to buy a Powerpuff Girls helmet there are some
commercial ones available
for motorbikes
and scooters,
or you can read on below to find out how I made this one.
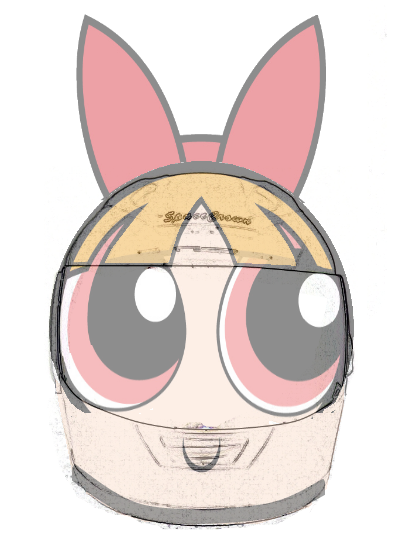
To get a feel for how the final helmet might look I used the picture
below as a reference and created an initial mock-up image. I
stretched Blossom's head over one of the outline pictures from
my Halo helmet using the excellent freeware image editing
program Paint.NET.
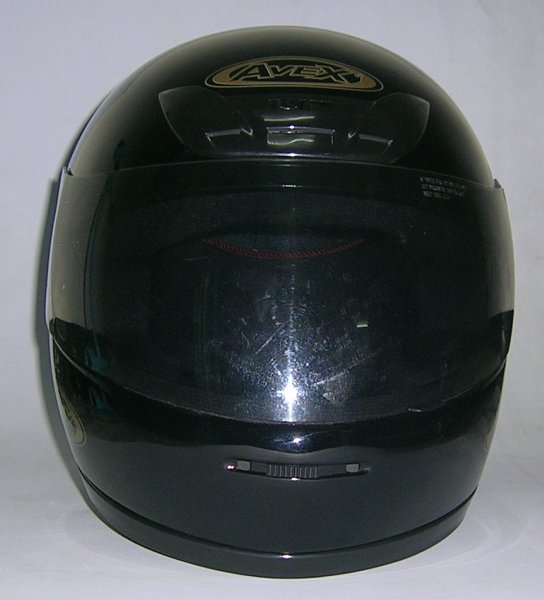
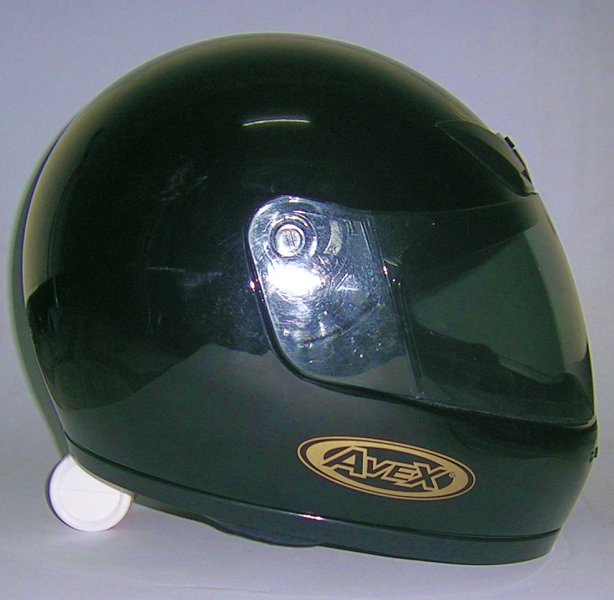
We then went helmet shopping to find a suitable helmet to modify and
while it may have been easier to start with a helmet that was already
the colour of Blossom's hair (orange) or skin (pink) there were only a
limited number of colours available. Unlike the helmet that I used
for my Halo helmet, I wanted one without
external visor fixtures and we eventually chose a
black Avex
AX-classic helmet. This helmet has a sliding air-vent located in
the chin area of the helmet so I went for an open-style Blossom mouth
to help camouflage the vent in the black area above the tounge.
DISCLAIMER: Don't do this. If you do, you
do so at your own risk. The tag on the helmet explicitly states that
you should not modify the helmet in any way. Additionally, your local
law enforcement officers may be less than happy to see
Blossom, Master
Chief, Bobba
Fett,
a Stormtrooper,
or even Mojo Jojo riding a motorcycle down their streets - even if
they are wearing a helmet.
Design
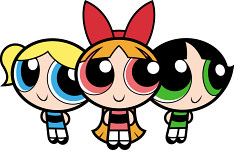 Source: About.com: Animated TV |
|
 Source: Starpulse.com |
|
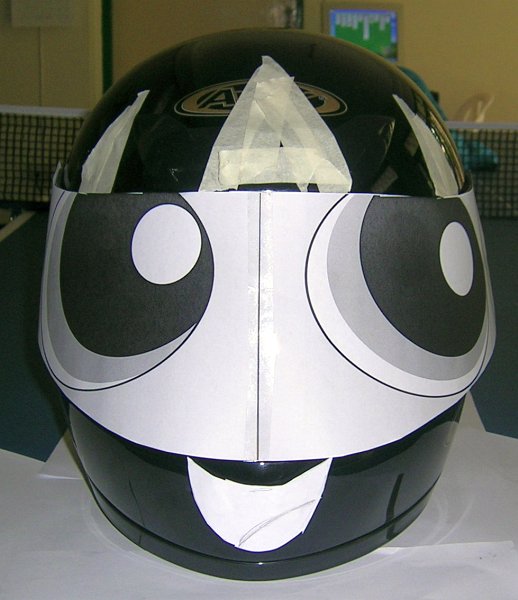
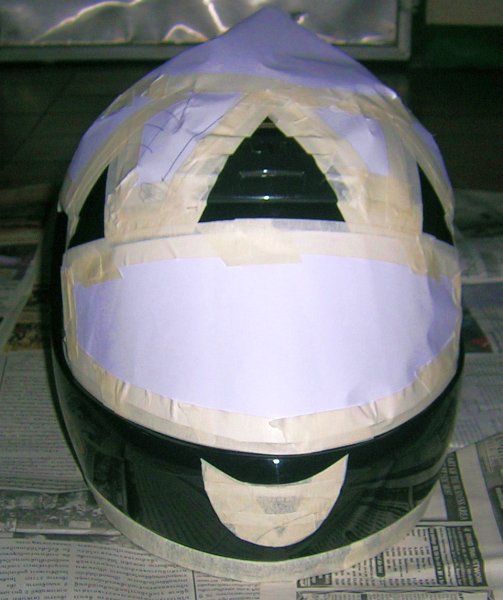
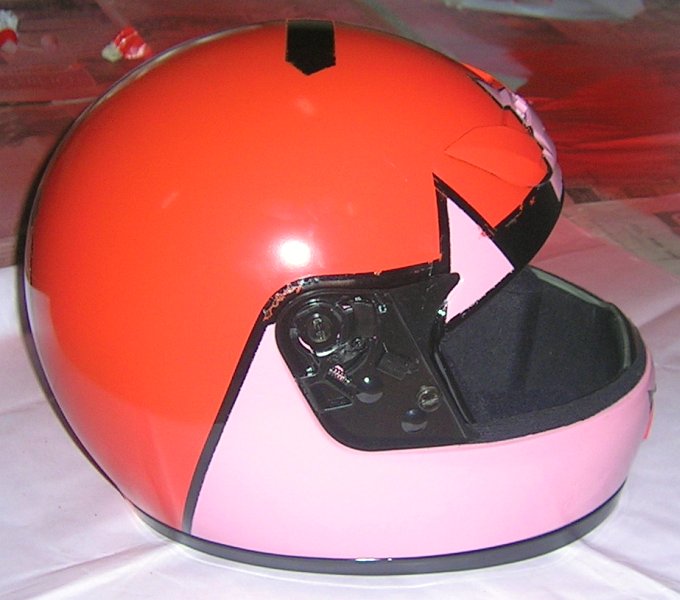
The right-hand picture shows an initial mock-up on the helmet itself using the first version of my eye artwork, a paper mouth, and masking tape. To make sure that the artwork was the correct size I wrapped some paper around the visor, traced the outline, and then scanned it as a 300 dpi image.
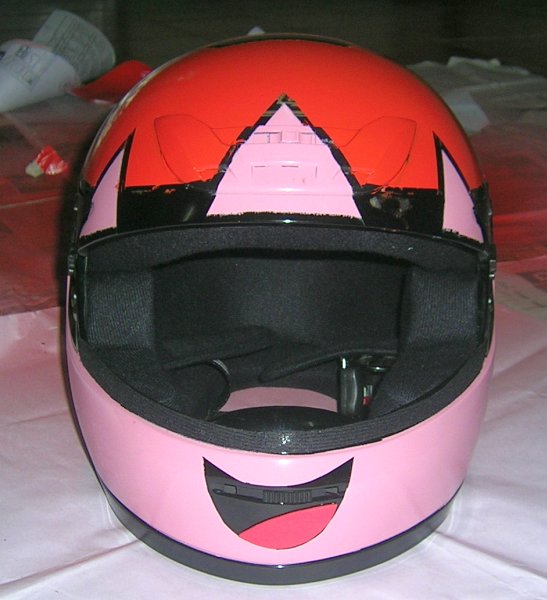
I was happy with the design so I masked up the helmet and sprayed the pink skin for Blossom's face. There was some bleeding under the masking tape (see the middle pink triangle in the image on the right) which I cleaned up using some black automotive touch-up paint.

Both the pink face and orange hair colours were stronger than what I originally wanted but again there are only a limited number of colours available in spray-on cans. Leaving a black line between the face and the hair helps to keep the colours distinct and also gives it the required cartoony feel. The tongue is a thin piece of foam rubber glued in place using yellow contact adhesive.
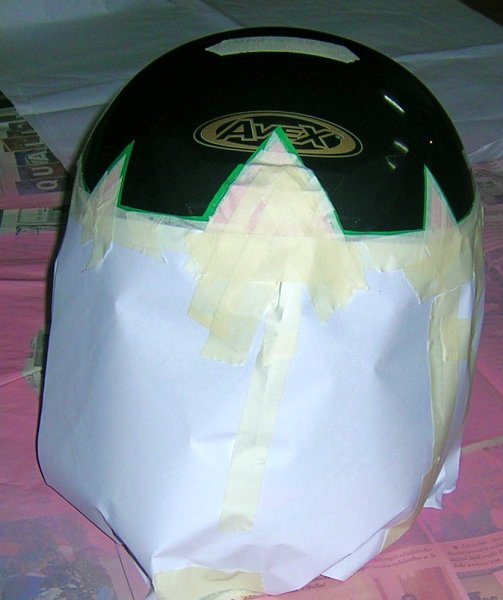
Blossom's bow was to be positioned on the top of the helmet so I masked a small section before spraying the hair (the black strip in the right side image). This would allow me to glue the bow on to an unpainted part of the helmet in case there were any adhesion problems with the paint.
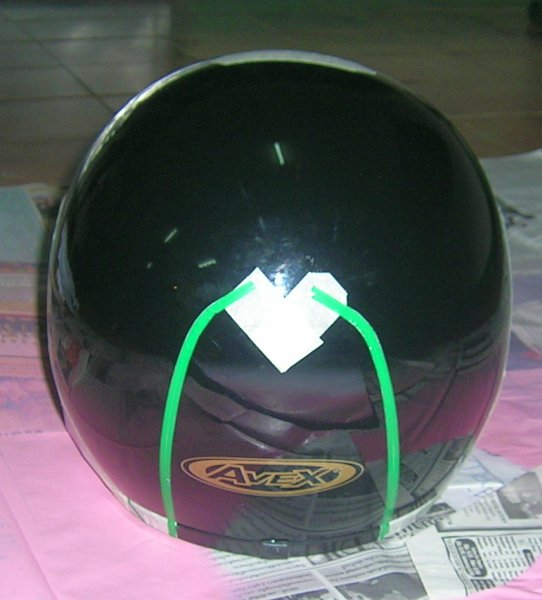
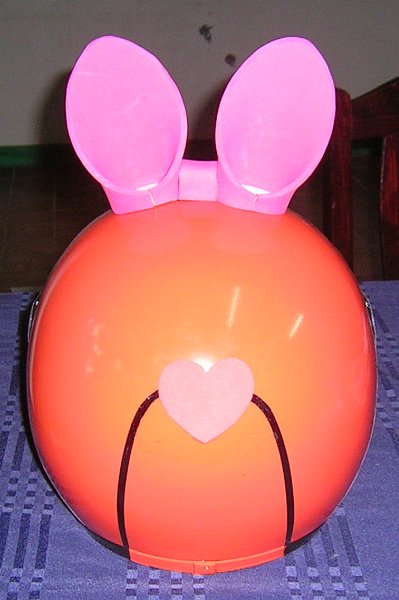
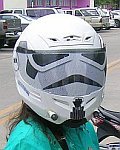
On the back of the helmet I added some more masking tape in the rough outline of the heart-shaped pony tail hair-tie/clip that Blossom wears so that this could also be glued on after spraying. The black lines from the heart are meant to infer the pony tail.

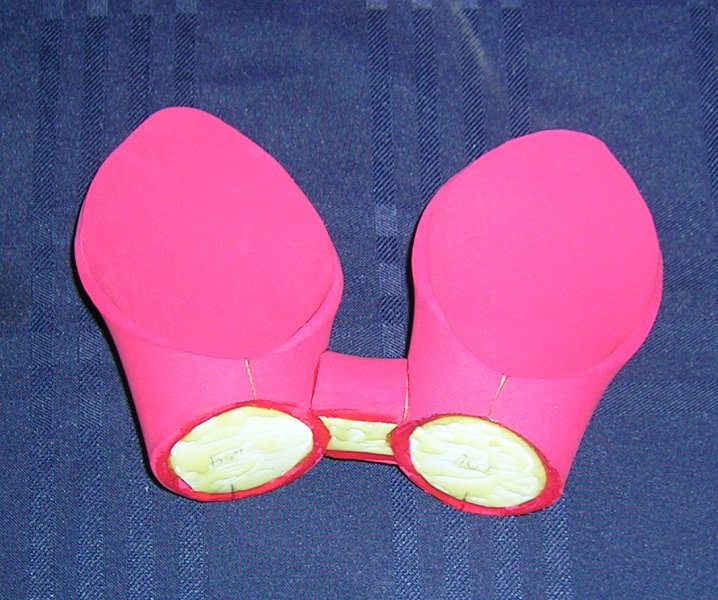
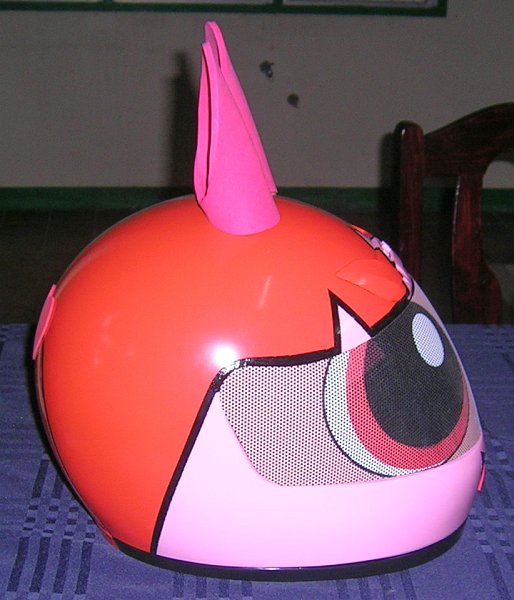
The bow is made from soft foam rubber and it is positioned so that there is plenty of clearance when the visor is open. Below you can see my first attempt at making a bow which was essentially a slightly flattened tube that was closed at one end with two white foam "tear-drops" inside to help keep the shape.
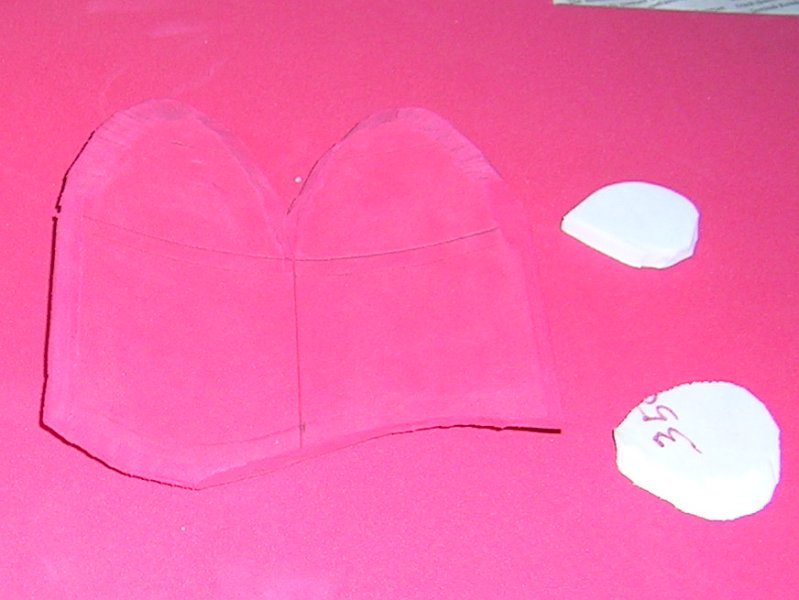

It wasn't a great look so for my second attempt, the two sides of the bow were made of sections cut from a cone shape and these were joined together with a small central bridging piece. The bow was assembled using yellow contact adhesive which was also used to glue it onto the helmet.

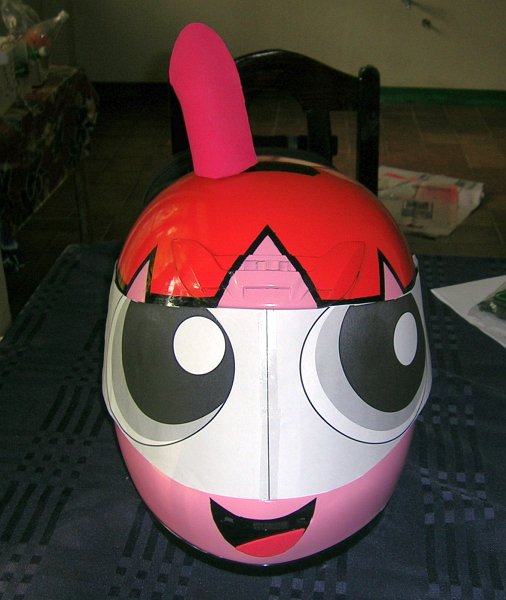
In retrospect it would have been good to mount the bow at a shallower angle and to reduce the surface area slightly. Unsurprisingly, the bow started vibrating at speeds above 80 km per hour with noticeable wind resistance pulling back on the helmet. While most of the traffic here moves at speeds well below 80km per hour, I have since trimmed the bow slightly to reduce the vibrations and wind resistance at higher speeds. If you look closely you can see the trimmed bow in the picture at the top of the page.
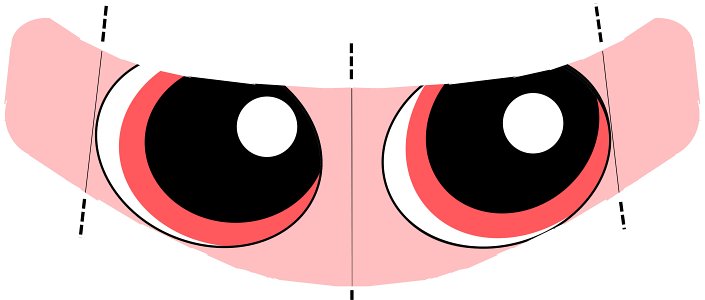
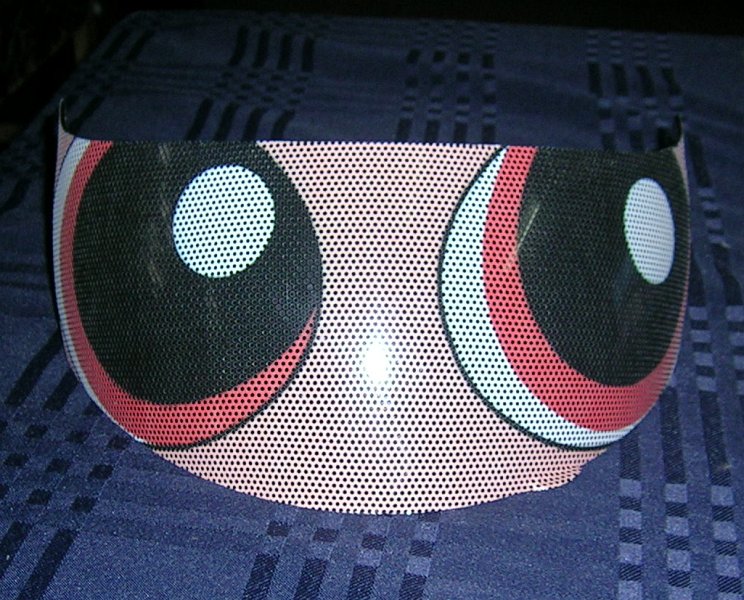
The helmet visor was made using the stick-on material they use for print advertising on buses, trains, and car windows. I provided a copy of my eye artwork (low resolution version below) to a local printing company who printed it and then fitted it to the visor for me. When we bought the helmet we also purchased a second visor which can be swapped out with the printed one.

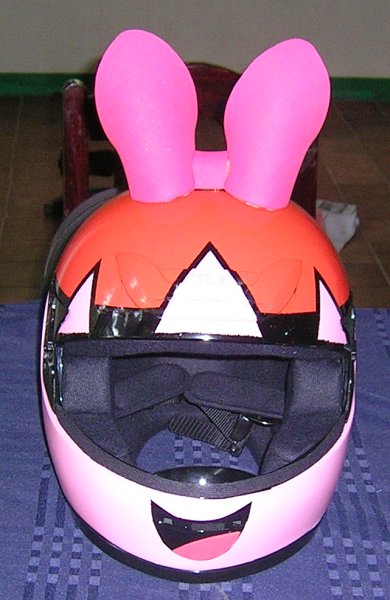
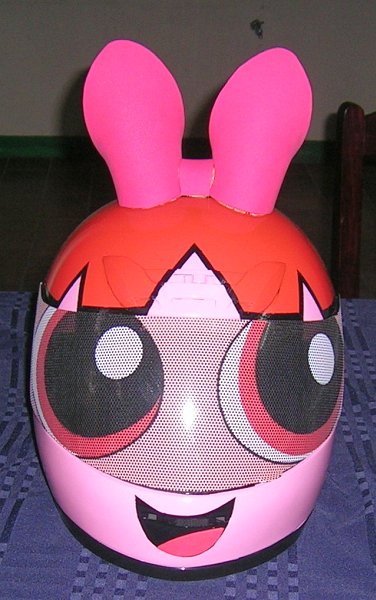
Here's the final helmet complete with a foam heart at the top of the pony tail. I am really pleased with the overall result and my friend gets some great reactions around town (and some not so amused ones from air force guards!).
This "making-of" montage video also gives a quick overview of the helmet mod:
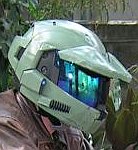
You may also be interested in reading about my Halo Motorbike helmet, my Stormtrooper motorbike helmet, my Gundam helmet...

...and/or some of my other projects: